The following is the email sent to Athena users from the Athena Help Desk. CCIT has appended additional instructions for Mac users, as the original instructions reference an older, unsupported version of Microsoft Remote Desktop.
Mac users, scroll down to the Accessing Athena Desk from a Mac section.
Dear Athena Users,
Beginning Saturday, December 2nd, you will be required to use a new procedure to log into Athena Desk (Advance). Please read this email in full so you do not experience any interruptions in your access to Athena Desk.
What is changing?
You will no longer be able to access Athena Desk from an application (Advance) installed locally on your PC. Instead, you will be logging into a Terminal Server -- a remote desktop controlled by CUIT -- and then logging into Athena Desk within that remote environment. This change does not affect access to any web-based tools, such as Athena Web, Athena Events, or Athena Reports.
This change is part of a larger project known as Converged Infrastructure, in which CUIT is centralizing the management of enterprise servers and applications across campus.
When is the change happening?
Beginning on Saturday, December 2, 2017, all access to Athena Desk from locally-installed instances of Advance will be revoked. There will be no exceptions to this deadline. We highly encourage you to begin using the new login procedure ASAP so you can get used to it and help the technical team identify any issues that may arise.
What will I need to log into Athena Desk?
- Your computer, PC or Mac
- A working Internet connection
- The Columbia VPN (if you are not on Columbia's ethernet)
- Windows Remote Desktop Connection (which can be installed on a Mac)
- Your UNI and UNI-based password
- Duo Mobile and your smartphone
- Your UNI and Athena Desk password
Logging into Athena Desk under the new system:
There a few new steps you will need to take to log in under the new system:
- Regardless if you are connected to the Columbia ethernet or WiFi or a home or public network, you will need to connect to the Columbia VPN first.
- Open Remote Desktop Connection, which is installed on every Windows PC -- it should be in your Accessories folder. If you have a Mac, you will need to have the Windows Remote Desktop Connection installed on your computer.
- Enter in the field for Computer: desk.athena.columbia.edu
- Your login for the Terminal Server is:
- User name: ADCU\yourUNI (i.e. ADCU\sr2784)
- Password: Your UNI-based password (the same one you use for LionMail, My Columbia, Benefits Enrollment, etc.)
- Once you have logged into the Terminal Server, you will be prompted to authenticate your session with Duo Mobile. This is the same multi-factor authentication app you use to access Benefits Enrollment, your paycheck, etc.
- Once you're in the Terminal Server, you can access Athena Desk as you normally would.
Important Notes:
- Please keep in mind that the Remote Desktop Connection is just a program open within your operating system. You can exit the Full Screen option by moving your cursor to the top of the window, and then move back and forth between applications on your local machine and the Terminal Server. Additionally, you can copy and paste between these two environments if needed.
- Within the Terminal Server, you should have access to your mapped drives and printers. It may take a minute for these to appear when you first log in.
- You should only use the Terminal Server to access Athena Desk. Anything you save in the Terminal Server will be wiped when your session ends. If you need to download a document from Athena Desk, save it to one of your mapped drives or your desktop.
Getting Help:
- You can find full documentation of this process below.
- If you have any issues with this new login procedure, please contact OAD Tech Help by submitting a support request on Essentials or calling (212) 853-1960.
- If your UNI password does not work in step 4 of the login instructions, you may need to reset it at uni.columbia.edu.
Accessing Athena Desk from a Mac
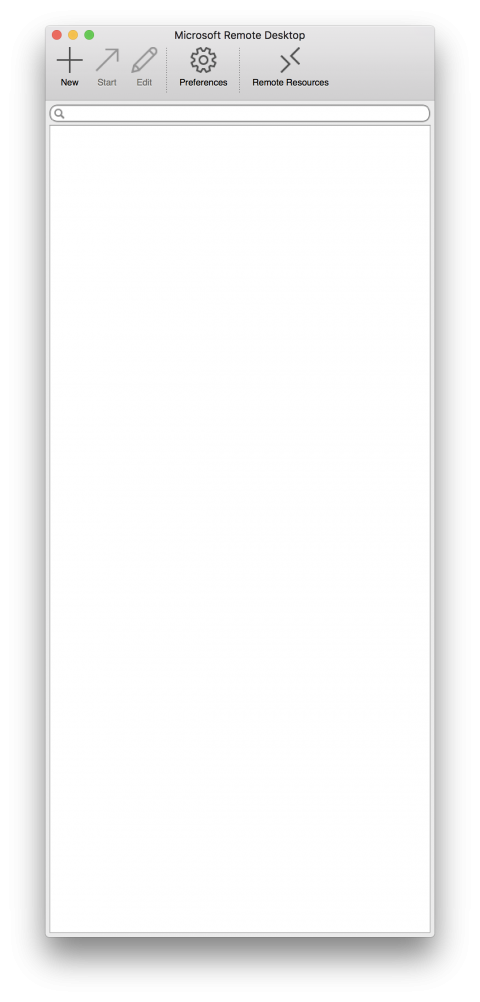
- Open Microsoft Remote Desktop.
- This should be on your Dock. It can also be found by performing a Spotlight search (press Command+Space Bar) and typing "Microsoft Remote Desktop"

- This will open the connection list. Click the New button at the top left corner.

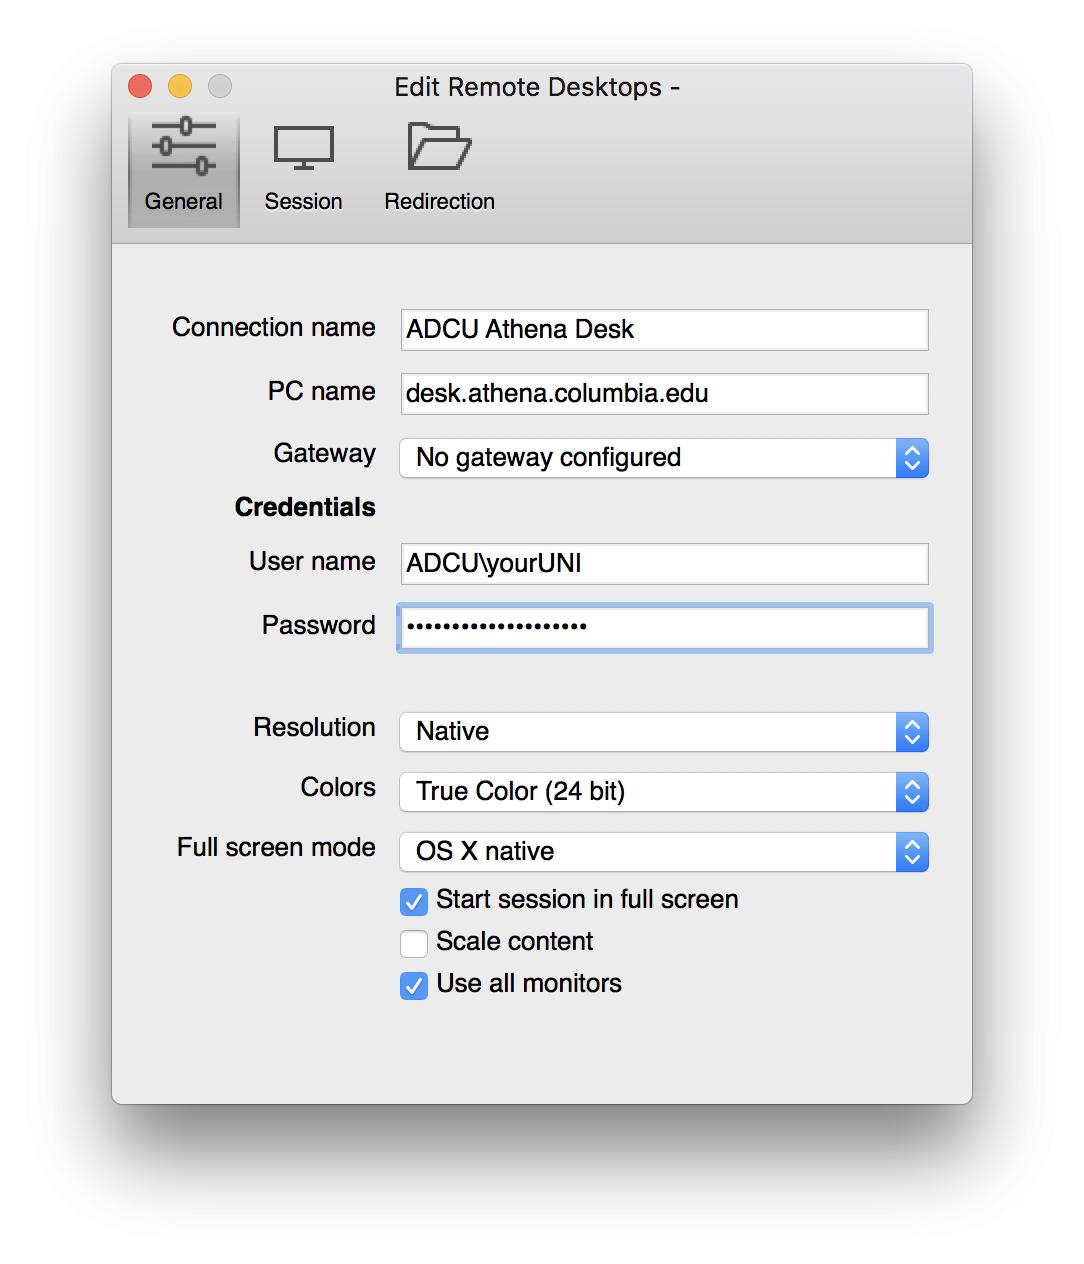
- Enter the following information into the fields:
- Enter a descriptive name in the "Connection name" field. "ADCU Athena Desk" works well.
- PC name: "desk.athena.columbia.edu"
- Gateway: No gateway configured
- Username: ADCU\yourUNI
- Replace "yourUNI" with your UNI
- Password: your UNI password
- Feel free to edit the other options according to your preferences

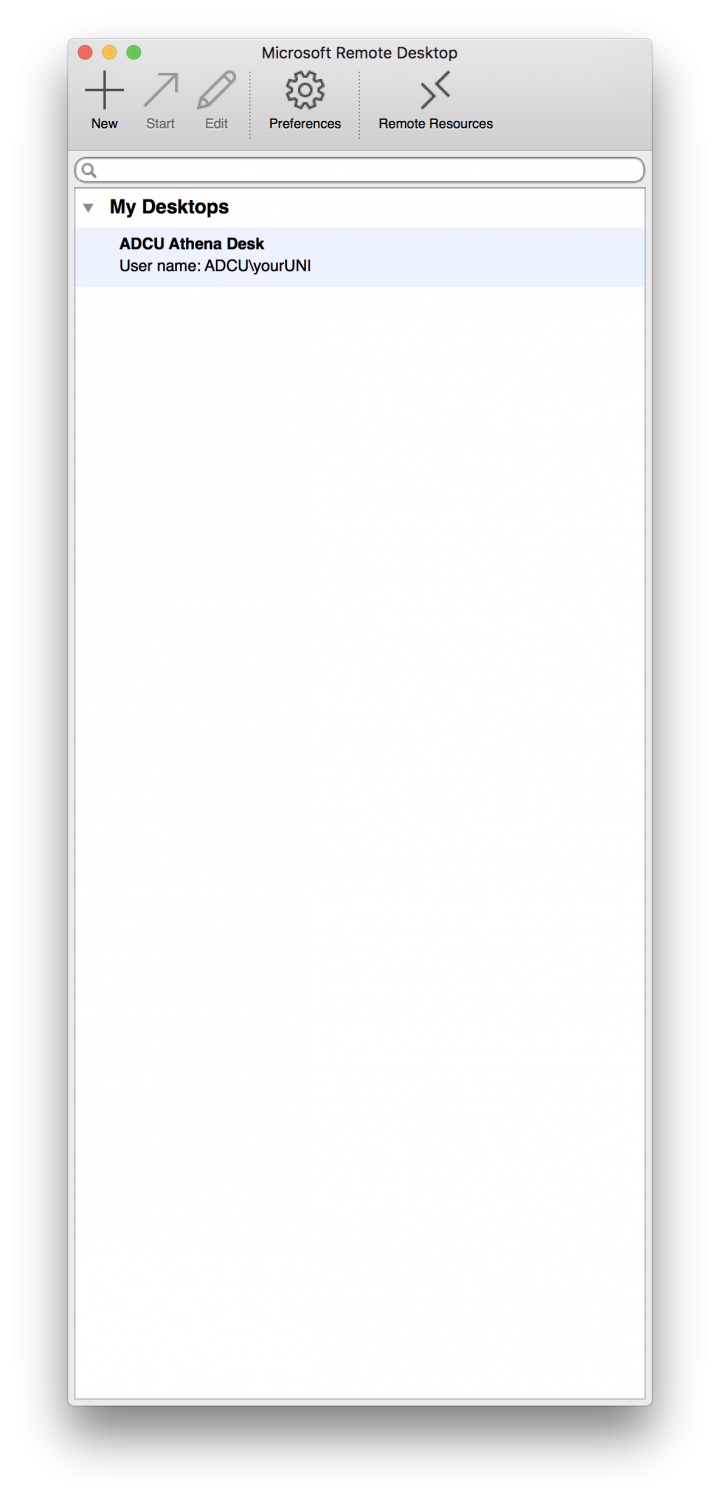
- Close the Edit Remote Desktops window. Your connection list window should now look like this:

- Double-click the connection you just created
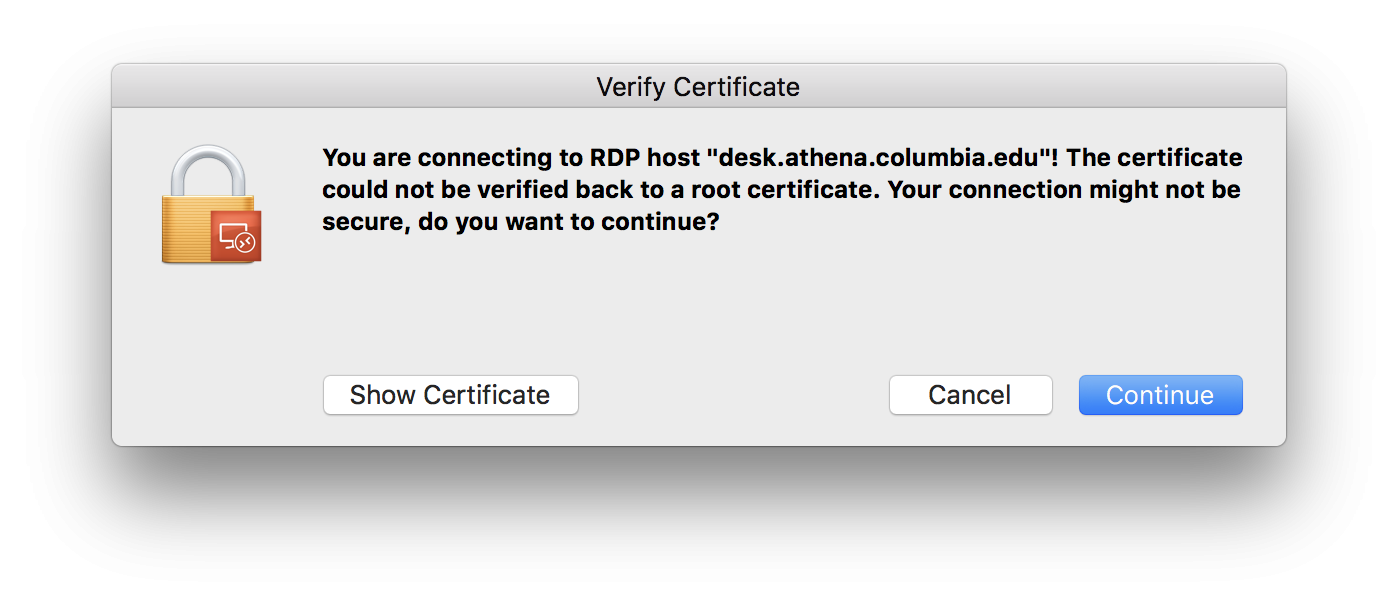
- You will receive a certificate alert. Press continue.

- You should now be at the welcome screen of the remote server.